


| part | ||||||||||||||||||||||||||||||
|---|---|---|---|---|---|---|---|---|---|---|---|---|---|---|---|---|---|---|---|---|---|---|---|---|---|---|---|---|---|---|
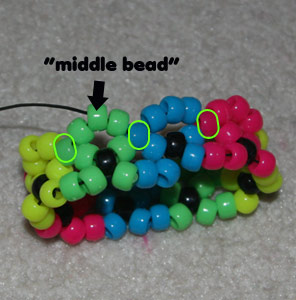
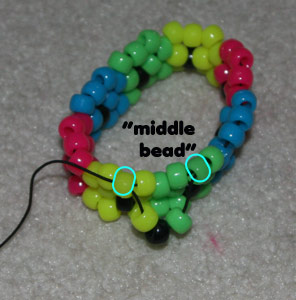
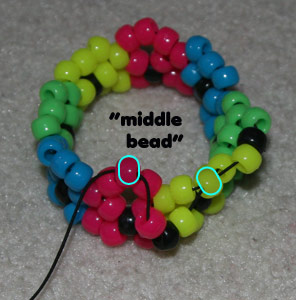
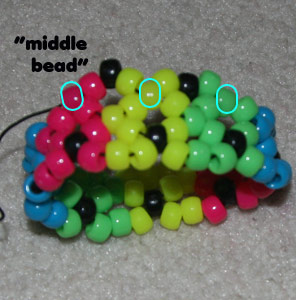
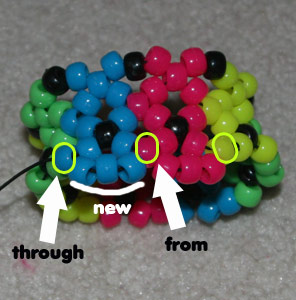
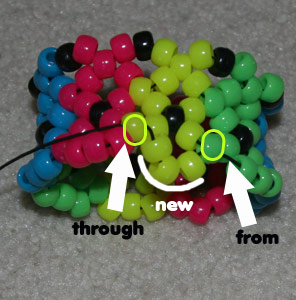
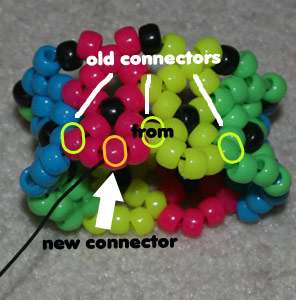
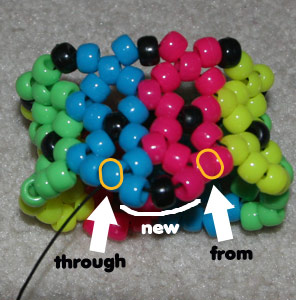
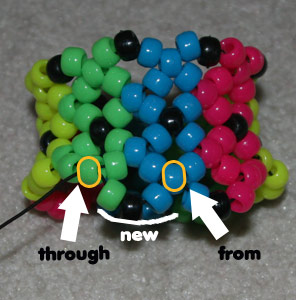
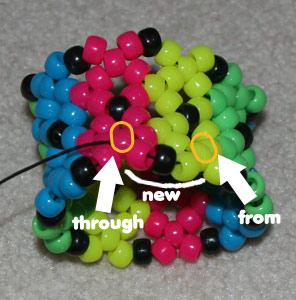
Step 18
|

Login / Register
Active Threads
- how do I secure the string on my kandi after finishing it?
- Flat Panels with Mini Pony Beads
- Is there a way to fuse perlers without glue?
- ONLY FOR THE ALT PEOPLE What’s your Alt subculture?
- Anyone have suggestions for things for a bored kandi kid to do?
- how do i make kandi ties?
- should I do a video walkthrough of all my kandi?
- where should i get beads
Random Pattern
